
Starlink Can't See the Sky From Your House? Move the Dish, Then Bridge It Back
November 6, 2026
Starlink needs a wide, clear view of the sky. If your house sits in the trees or under a hill, the app's obstruction check shows red and the service drops every few minutes. The usual advice is "move the dish somewhere clear." The problem is that the clear spot is often a field, a ridge or the far side of the property, a long way from where you actually use the internet.
Here is the setup we recommend for that situation, and it is one of the most common jobs our kits do.
Why you can't just run a longer Starlink cable
The Starlink Standard kit comes with roughly 50 feet of cable between the dish and the router. Longer replacement cables exist, but the dish runs on power sent up that cable, and the commonly cited limit is about 150 feet total before voltage drop becomes a problem. If your clear spot is 400 feet or half a mile away, a longer Starlink cable will not get you there.
The setup: dish and router at the clear spot, bridge back to the house
- Mount the dish where the sky is clear: a pole in the field, the roof of an outbuilding, the top of the ridge. Run the app's obstruction check there first.
- Put the Starlink router near the dish, within cable reach, somewhere dry with power (a shed, a weatherproof box, an outbuilding).
- Plug one bridge radio into the router's Ethernet port and mount it facing the house. The Gen 3 router has two Ethernet ports; a Gen 2 router needs the Starlink Ethernet Adapter.
- Mount the second radio at the house facing the first, and plug it into your home router, switch or access point.
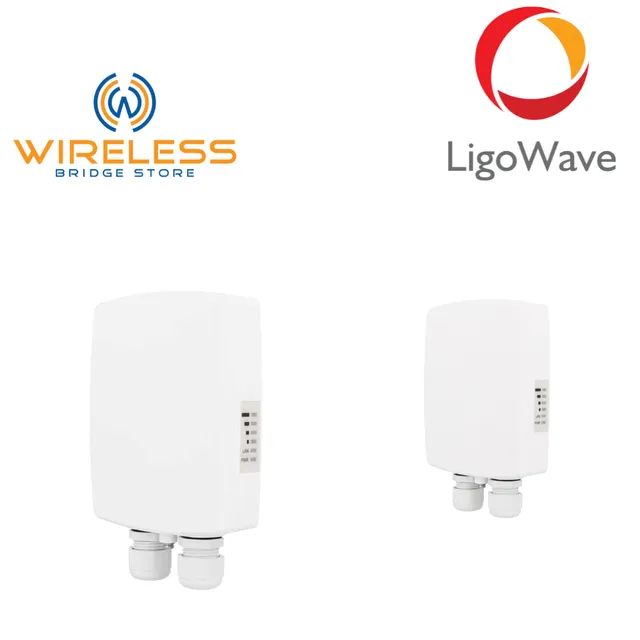
That is it. The house gets the full Starlink connection over the air, and the dish gets the clear sky it needs. Our LigoWave LV-5-15AC kit is rated up to 3 miles with a clear line of sight and moves 500+ Mbps, so the bridge is never the slow part. It arrives preconfigured, with its own random network name and password, so there is nothing to set up on a laptop.
On a tighter budget? Our Ubiquiti NanoStation M2 kit does the same job on 2.4 GHz. It is rated up to 8 miles with a clear line of sight at up to 150 Mbps. The trade-off is speed: on a fast Starlink day the bridge becomes the bottleneck, but for email, streaming and a camera or two it is plenty. It comes preconfigured too.
Things to plan for
- Power at the dish site. The Starlink router and the bridge radio both need power where the dish is. If there is no outlet there, that is the first thing to solve.
- Line of sight between the radios. The two bridge radios have to see each other, with the area around the straight line between them mostly clear. Trees that block Starlink can also block the bridge, so mount the radios high enough to clear them. Our free wireless link calculator checks this from the distance and mount heights.
- Wi-Fi at the house. The Starlink router's Wi-Fi will be out at the dish, not in the house. Plug a Wi-Fi router or access point into the bridge radio at the house. The bridge does not need Starlink's bypass mode; it carries your Starlink network as it is.
- A camera at the dish site. Both kits have a second port on each radio that powers a camera, handy for keeping an eye on gear out in the field.
Want a second opinion on your site? Send us the distance between the clear spot and the house, and what is between them. We will tell you whether a bridge will make it.
–Dennis